

Overview
Context is the information Poolside uses to understand and complete your request. In agent sessions, Poolside builds context dynamically as it runs. It starts with what you reference and expands as needed to complete your request. Guide what Poolside considers by explicitly referencing files, folders, symbols, or web content in your prompt. For a conceptual overview of how agents work, see How agents work.Add context in the IDE
In Poolside Assistant, add files, symbols, web content, and other context directly from the prompt input box.Reference files and folders
The active editor file is included automatically. Reference additional files or folders as needed. Use file references when:- Asking about a specific file
- Requesting changes in a defined area
- Providing constraints or examples
- Type
@followed by the file or folder name in the prompt. - Select a matching result to insert it into the prompt.
Reference code symbols
Use symbol references to include functions, classes, methods, variables, or other supported symbols from the active file. Symbol references are available when your editor can provide document symbols for the active file. Use symbol references when:- Asking what a specific function or class does
- Modifying a specific symbol
- Investigating how a symbol is used
- Type
#in the prompt. - Select a matching symbol from the list or continue typing to filter the results.
# menu does not show symbols, check that the file is open in the editor and that your editor’s language support can show symbols for that file.
Add web content
Use Web content to reference a specific web page in your prompt. To add web content:- In the prompt input box, click the context control button. When no context is attached, it displays @ Context. Otherwise, it displays the currently attached items.
- Select Web content.
- Type
@followed by the full URL. - Select the URL from the Add website field to insert it into the prompt.
@ followed by the full URL directly in the prompt input box.
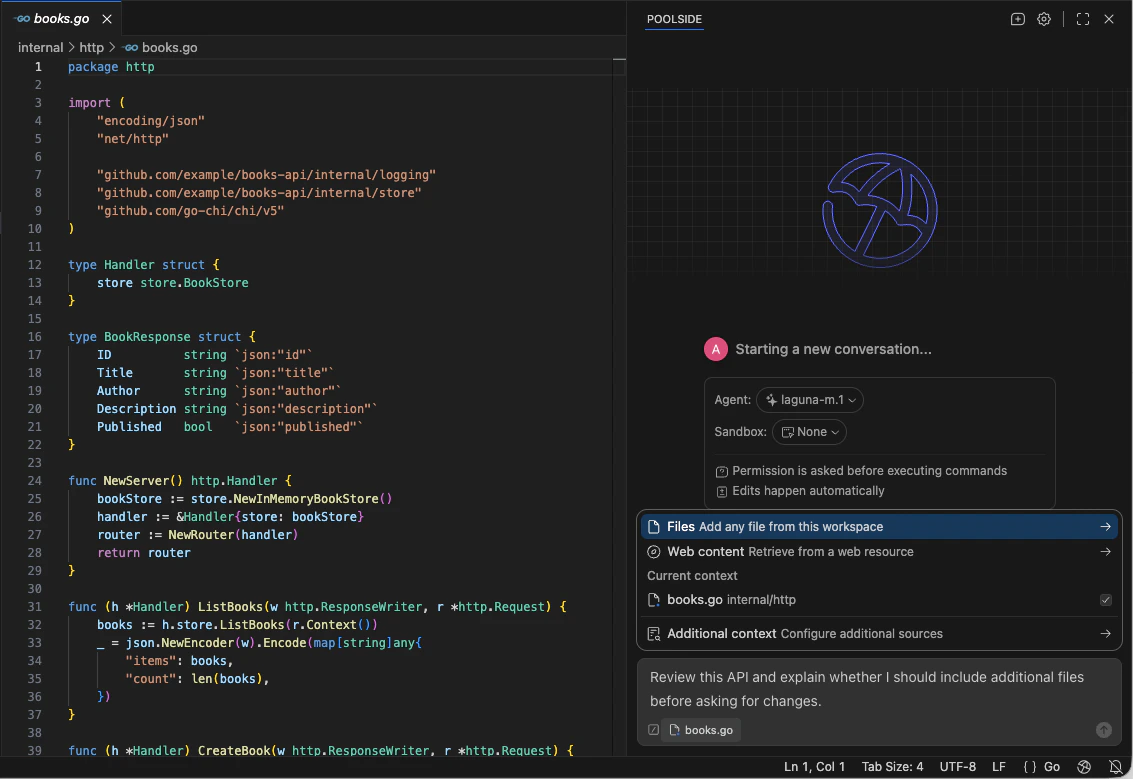
Additional context
Use additional context when you want to control which workspace-derived sources are included automatically in your request. To add additional context:- In the prompt input box, open the context menu. When no context is attached, it displays @ Context. When context is already attached, you can reopen the same menu from an attached context chip.
- Select Additional context.
- Enable or clear the checkboxes for the sources you want included.
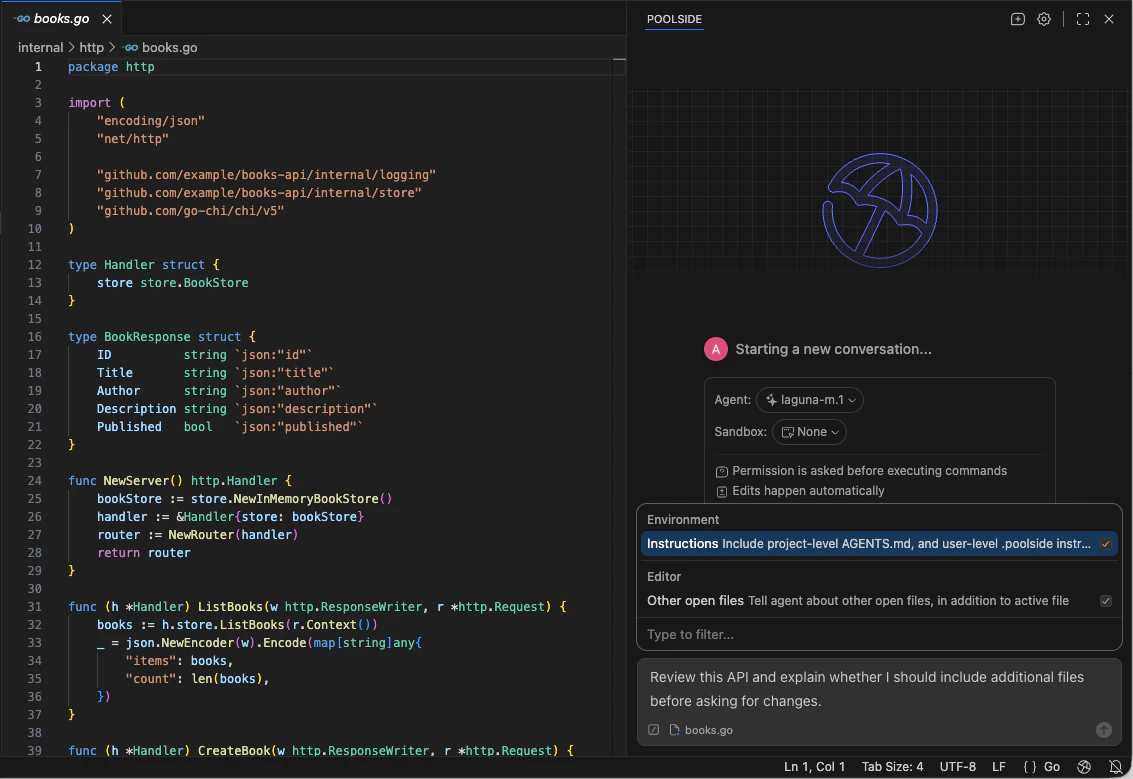
- Instructions: Project-level
AGENTS.mdand user-level.poolsideinstructions - Other open files or Recent files: Other files from your workspace, depending on the current mode
- Codebase search: Relevant code from your workspace
- Problems: Errors, warnings, and diagnostics from your IDE
- External dependencies: Dependency manifest files such as
package.json - Git: Repository context such as the current branch and commit messages
Add context in the CLI
Use different context controls depending on which CLI mode you are using.Interactive mode
Use interactive mode when you want to work over multiple turns:pool in the repository you want the agent to work in, or point it to a specific directory:
@ in the prompt and select the item you want to include.
In interactive mode, arguments after -- are forwarded to the agent server. To add files as context, reference them in the prompt instead.
Example prompts:
Automated mode
Use automated mode when you want to send one prompt and exit:--:
-d to run against a different project directory: